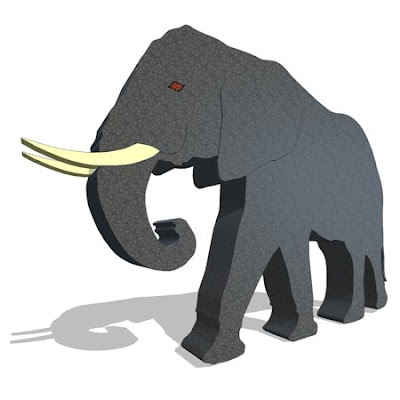
E L E P H A N T ""first on the ark.
APPLYING TEXTURE TO HIDDEN LINE-or-SHADED w/HIDDEN LINE VIEWS
q u i c k s t e p process (revit > photoshop)
=
1. create a digital image of a desired view in Revit (* print PDF_vector based):
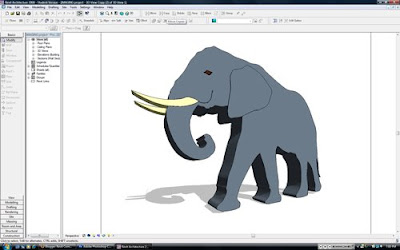
2. open the now saved image/PDF in Photoshop:
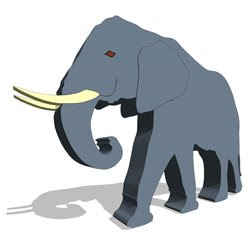
3. find/open/create a "material map" or texture that you want to use:
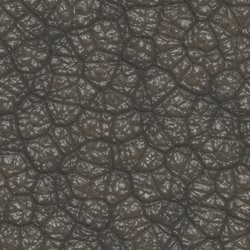
*courtesy of Google images
4. open the "material map" file in Photoshop > click Edit (top toolbar) > Define Pattern > Name the pattern.
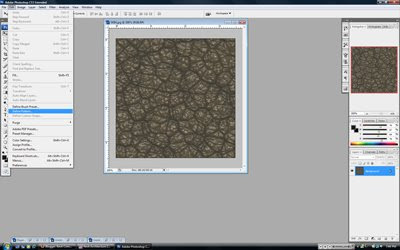
5. navigate back to the Perspective View. [Ctrl+Tab]
6. use the Magic Wand Tool [W] and select the desired faces/regions, use [Shift] to include multiple faces/regions in the same selection:
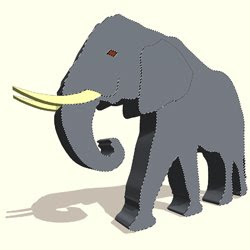
7. keeping the selection active, create a New Layer, [Shift+Ctrl+N] and apply a fill/paint to the selection on the New Layer with the Gradient Tool [G] (Foreground to Transparent):

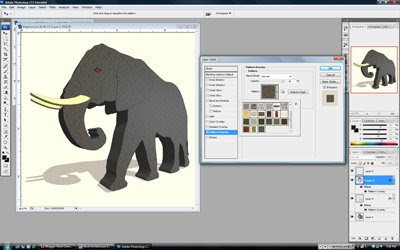
8. Deselect [Ctrl+D] and navigate to your New Layer's_Blending Options.
9. Apply Pattern Overlay Effect > select the "material/map" (i.e. Defined Pattern) > adjusting the "Scale", "Opacity", or "Blend Modes" to create the desired effect.
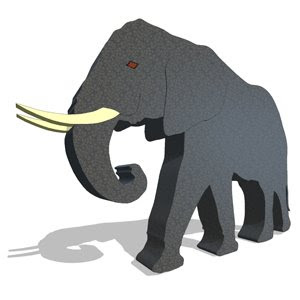
V O I L A


No comments:
Post a Comment